I have been playing with mesh in the open beta test of mesh import on the Second Life test grid for the past three weeks.
Here is a peasant tunic I have been working on. It is one piece, and it is the equivalent to 6 prims. I want to play now with a mesh underskirt to see if that will work well for me, or if I will use a flex prim underskirt as I have before under sculpties. I also want to make boots, and perhaps an apron to go with it.
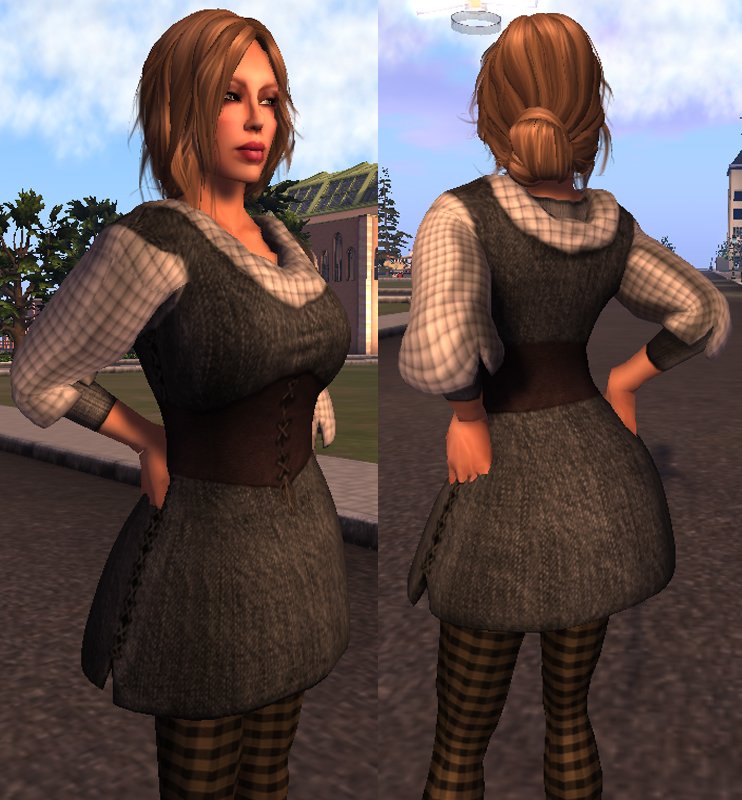
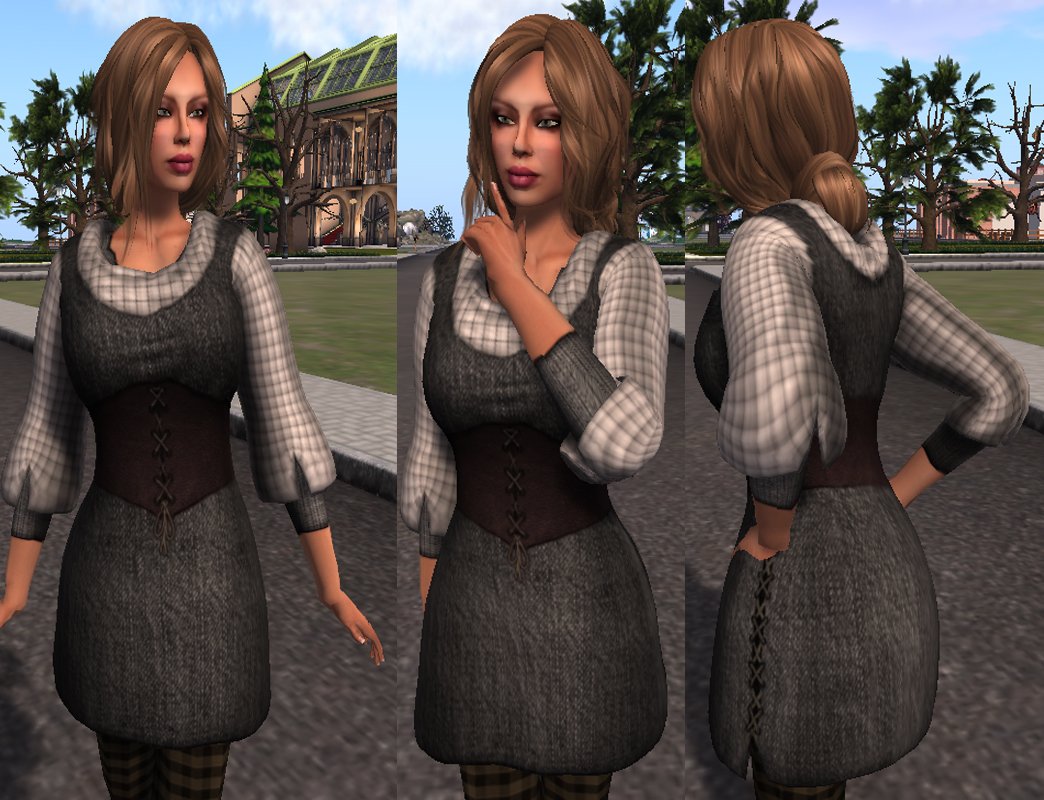
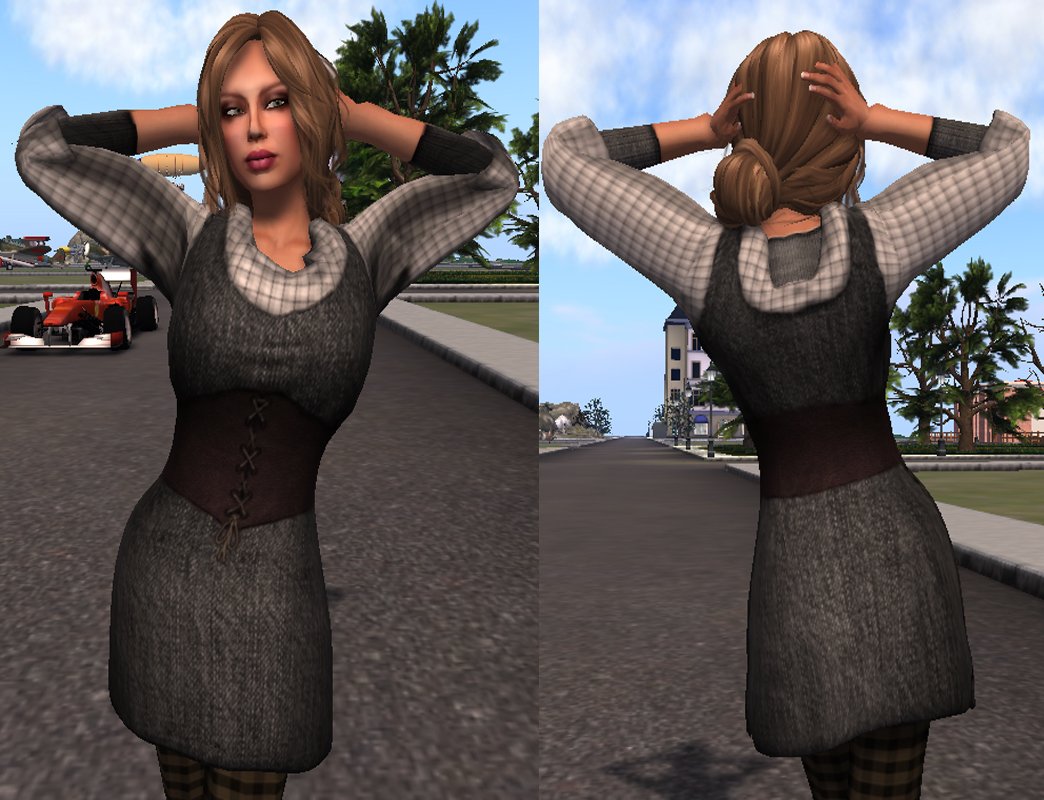
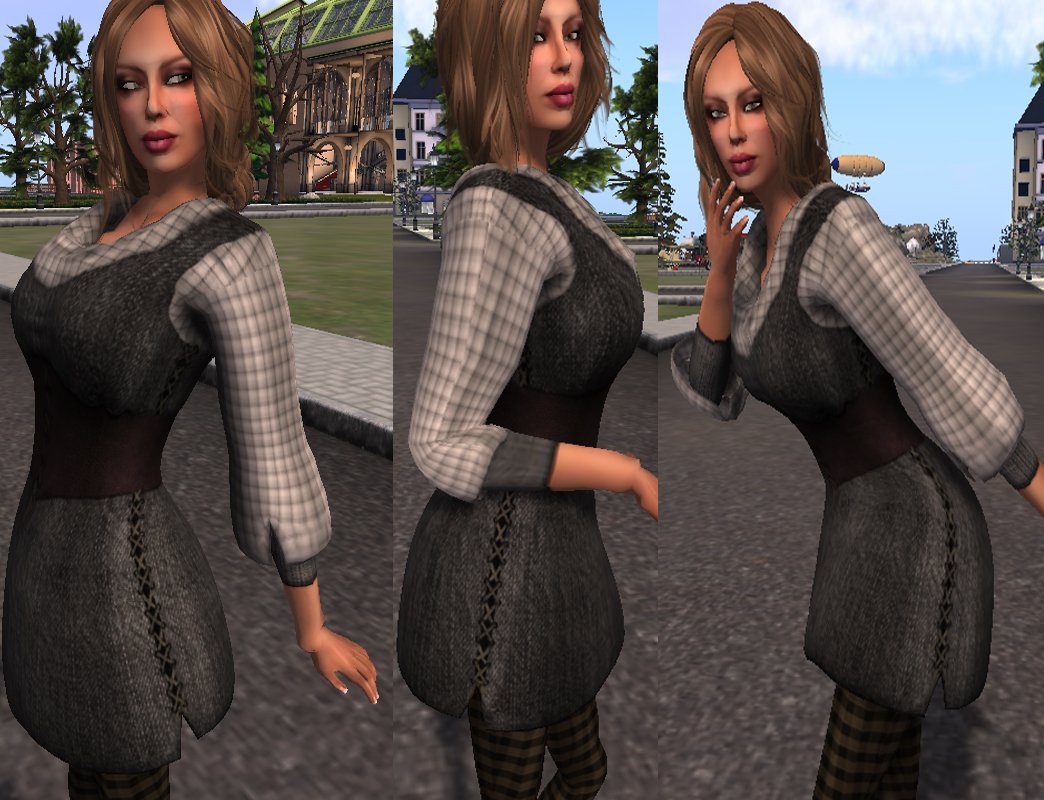
I had used ZBrush exclusively to make sculpties and came to love the ability of that program to handle fine detail and texturing. However, ZBrush will not export to collada, so I had to export as an .obj and import that .obj into Blender, which will export to collada. ZBrush does not handle rigging and weighting well at this point, so getting my clothing mesh to move with the avatar and weighting that movement must be done in another program. Blender does that quite well. Blender also handles UV maps much better than ZBrush.
All of this meant that I had to learn Blender. I have been working at that and also figuring out my process, my workflow or pipeline. Here is a very rough outline of what I have arrived at.
1. Make basic mesh in Blender. This permits me to rough out a very low poly form with perfect quads. I can extrude, select edge loops, add edge loops to areas where I want more detail, and so on.
2. Export basic mesh as an .obj and then import that into ZBrush. There I can subdivide the model to get good density to sculpt detail into and shape the mesh. Once I have done so, I move down to the lowest subdivision level and export that as an .obj.
3. Take the shaped mesh back into Blender as an .obj import. I then mark the seams where I want the UV map to be cut to make islands that will make sense to me. I unwrap the mesh and check out the UV map to make sure it is good. I then export the mesh again as an .obj, usually adding “UV mapped” to the name to avoid confusion.
4. Weight your mesh in Blender. At this point you can export the mesh as collada and set that aside, ready to take into Second Life.
5. Import the .obj UV mapped mesh back into ZBrush, and using the UV Master plugin I hit the “copy UVs” button. I then load up the subdivided mesh model I was working on and take the geometry down to the lowest level. I then open up the UV Master plug in again and hit the “paste UVs” button. This works very well!
6. Now I can texture it in ZBrush using that program’s fantastic tools at the highest subdivision level. When done, make a texture map from your polypaint, clone it, flip it vertically, and export it out.
7. Go into the test grid and import your collada model as weighted mesh and your texture. Put them together, and voila!


Omg Vivienne – this short text down under the images might be my lifesaver in making sculpties and especially texturing them, and perhaps learning to deal with meshes too. You have no idea how much that helped me – i am off to find Zbrush right now!! Blender i have cursed at for over a year now lol. The results you have reached with the meshes looks stunning. Well done!
I am glad you found it helpful. Vlad Bjornson has a wonderful website called Shiny Life you may want to visit. He plans to put up a new tutorial soon on how to use ZBrush to make mesh. However, you will also need to continue to use Blender to import an .obj from ZBrush and export it in collada format, and also to weight your clothing. Gaia Clary and Matrice Laval have made a great video on the Machinimatrix website on how to export to collada format, weight clothing to the avatar bones, and import mesh into Second Life. There are all kinds of good Blender tutorials out there, and you can find more information on the new ZBrush 4 at their website.
I hope you find this helpful.
Here is another helpful link for ZBrush 4. Jason Welsh, also known as Cannedmushrooms, is a professional teacher specializing in computer graphics and 3d modeling programs. He has an excellent series of video tutorials for ZBrush 4 on the web. The man is truly a gifted teacher and I have found his tutorials to be extremely helpful.
Hi i got a question, this sounds great and your clothes looks amazing, it’s a dream the clothes following body movements, but you know if its possible in this mesh evolution, to give for example the skirt you did moves with the wind? in the sl mesh beta grid of course. Or we can set the texture (cotton, leather, etc…), and spect it works?
Thank you for your kind comments. Unfortunately the answer to both of your questions is no. Mesh clothing will not move with the wind. Defining materials must be done in 3D modelling programs and their appearance set there.
Wow great job I am a zbrush artists as well and have been using a few years and as well I use blender. Blenders last release is excellent in that it is much more user friendly this time around. I used it a few years ago and well now it just feels more intuitive. The newest zbrush updates are amazing as well ! I am currently using 4r3 not sure if all is still current but reading your instruction I am pretty sure that it is. I had a store in SL a few years back though have not stopped through in a bit … but I have been in yours and you do great work ! Feel free to post in my facebook digital art page. Your work is definitely art !